Do you know the quality of the soil in which your plants will be planted? What’s its composition? What amendments should you make to ensure that your plants offer you the maximum yield and beauty? Having your soil tested could help you go from good to fantastic results for your garden, lawn, or vegetable garden.
Here is how to prepare your samples:
Periods for soil analysis
- From the first week of May to the last week of June.
- From the first week of September to the last week of October.
Sampling for soil analysis
The soil you need to get tested is the one where most of your plants will use for their growth, a layer of soil between 10 and 20 cm of depth, called topsoil.
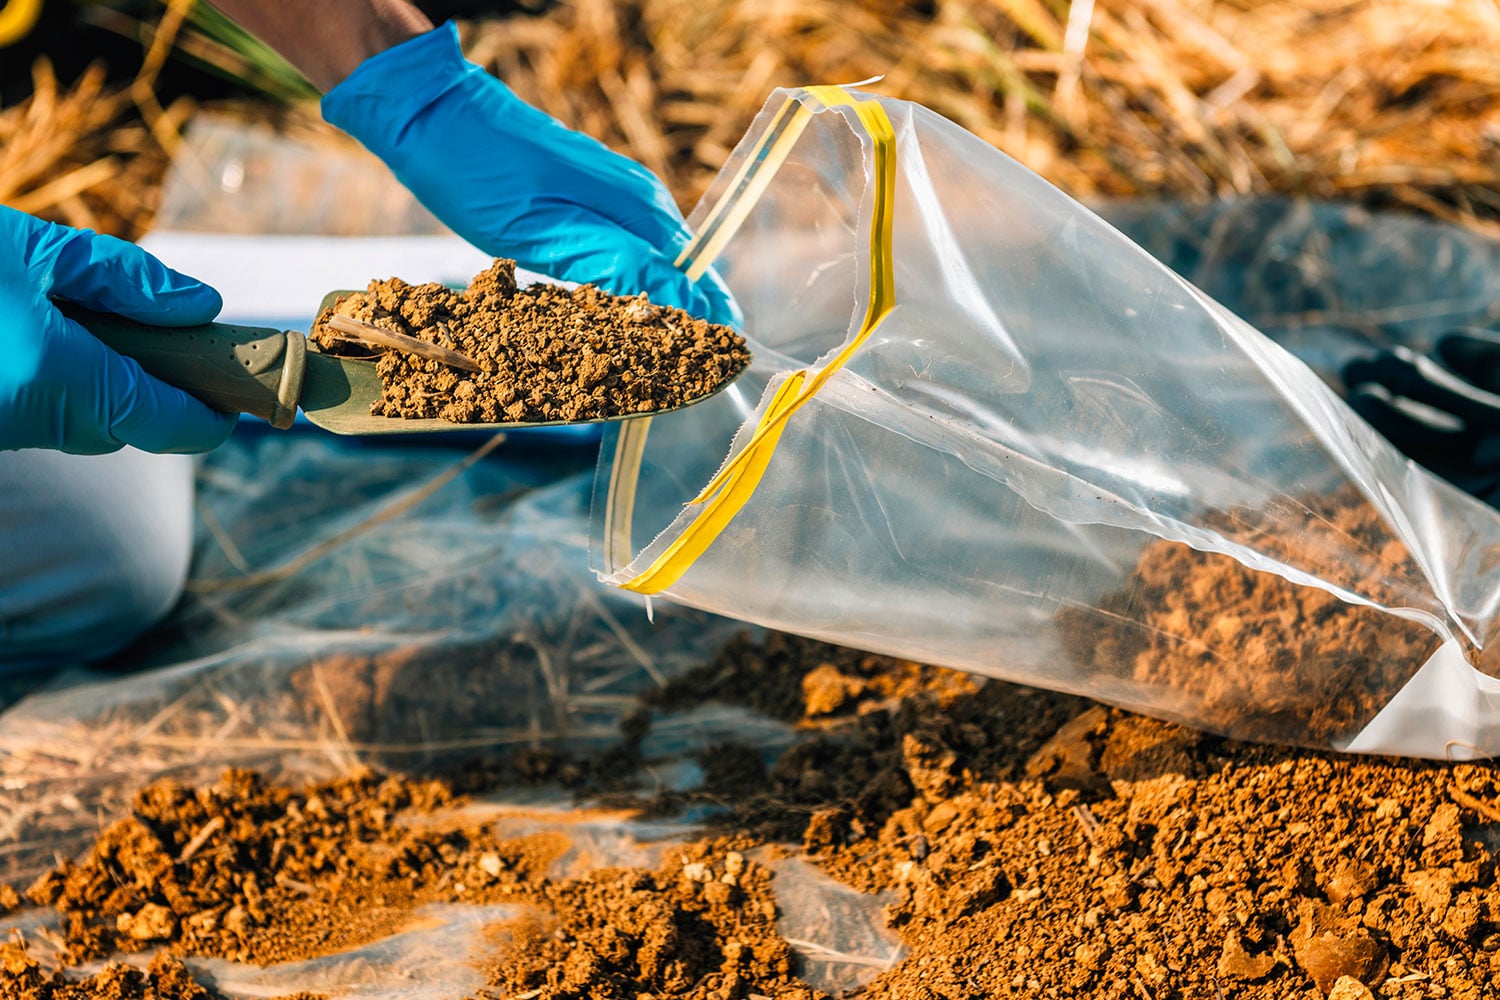
Grab a resealable plastic bag (ex: Ziploc®) and a hand shovel (or transplanter).
Take small shovelfuls at the desired depth, from different areas of your lawn so the sample is representative.
Careful!
If part of your lawn is very sandy and your vegetable garden is on a clay bed, you must make 2 different analyses to meet the needs of each area.
Precautions to take
- Never mix the areas to be analyzed. Provide 1 bag for the vegetable garden, 1 for your flower bed, and 1 for your grass;
- Always wash the tool that will be used to collect the soil samples.
Important : Never touch the samples with bare hands; - Remove stones, weeds, and other debris that may be mixed with the soil. Always handle the samples using gloves.
How to collect your soil samples
- Using your tool, collect about 10 to 15 samples from the area of interest (lawn, flower bed, garden, etc.).
- Insert the tool at the recommended depth of 10 cm (4in). Collect a few tablespoons of soil in each area.
- Place your samples in a very clean container, avoiding touching it with your fingers. Mix well and transfer about a cup of the mix into a resealable plastic bag.
- Identify each sample and bring them to us so we can analyze and make the follow-up recommendations.
Happy gardening!

